


Car detailing is big business, with a price tag that often hovers in the three digits. That’s a lot to swallow, especially if you have kids or spend enough time in your car that it quickly gets dirty again.
You can’t DIY everything, but you can certainly DIY car detailing — and save yourself significant money in the process. Detailing your car, even high-end vehicles with leather car seats, is much faster and easier than you think. In fact, it’s a four-step process that you can easily finish inside of an hour. If you want your vehicle's interior to look its best, follow this guide on DIY car detailing.
DIY Car Detailing in 4 Steps:
1. Remove trash and clutter
It goes without saying, but you have to get large items out of the way first. Bring a trash can or trash bag nearby and go through your car interior. Throw away or recycle anything that can be ditched and returning all those items that accumulate on your commute to their rightful place. Be sure to remove larger items, like car seats or booster seats, so you can detail the seats thoroughly. And don’t forget about the trunk — many people overlook it, but it deserves some love, too.
2. Vacuum the seats and rugs
First, pull out the mats so you can get underneath them. Set aside rubber mats; if you have carpet mats, vacuum those when you vacuum the rest of the car. It’s easiest to use a vacuum with a long hose and pointed nozzle, but a hand vac will also do. Be sure to get into all the cracks and crevices, including beneath and beside the seats, inside the air conditioning vents and in all the seat cracks and perforations. This is where dust and loose dirt accumulates, and if you don’t vacuum it out before cleaning, you’ll have a harder time with the next step.
3. Use a multi-purpose car detailer
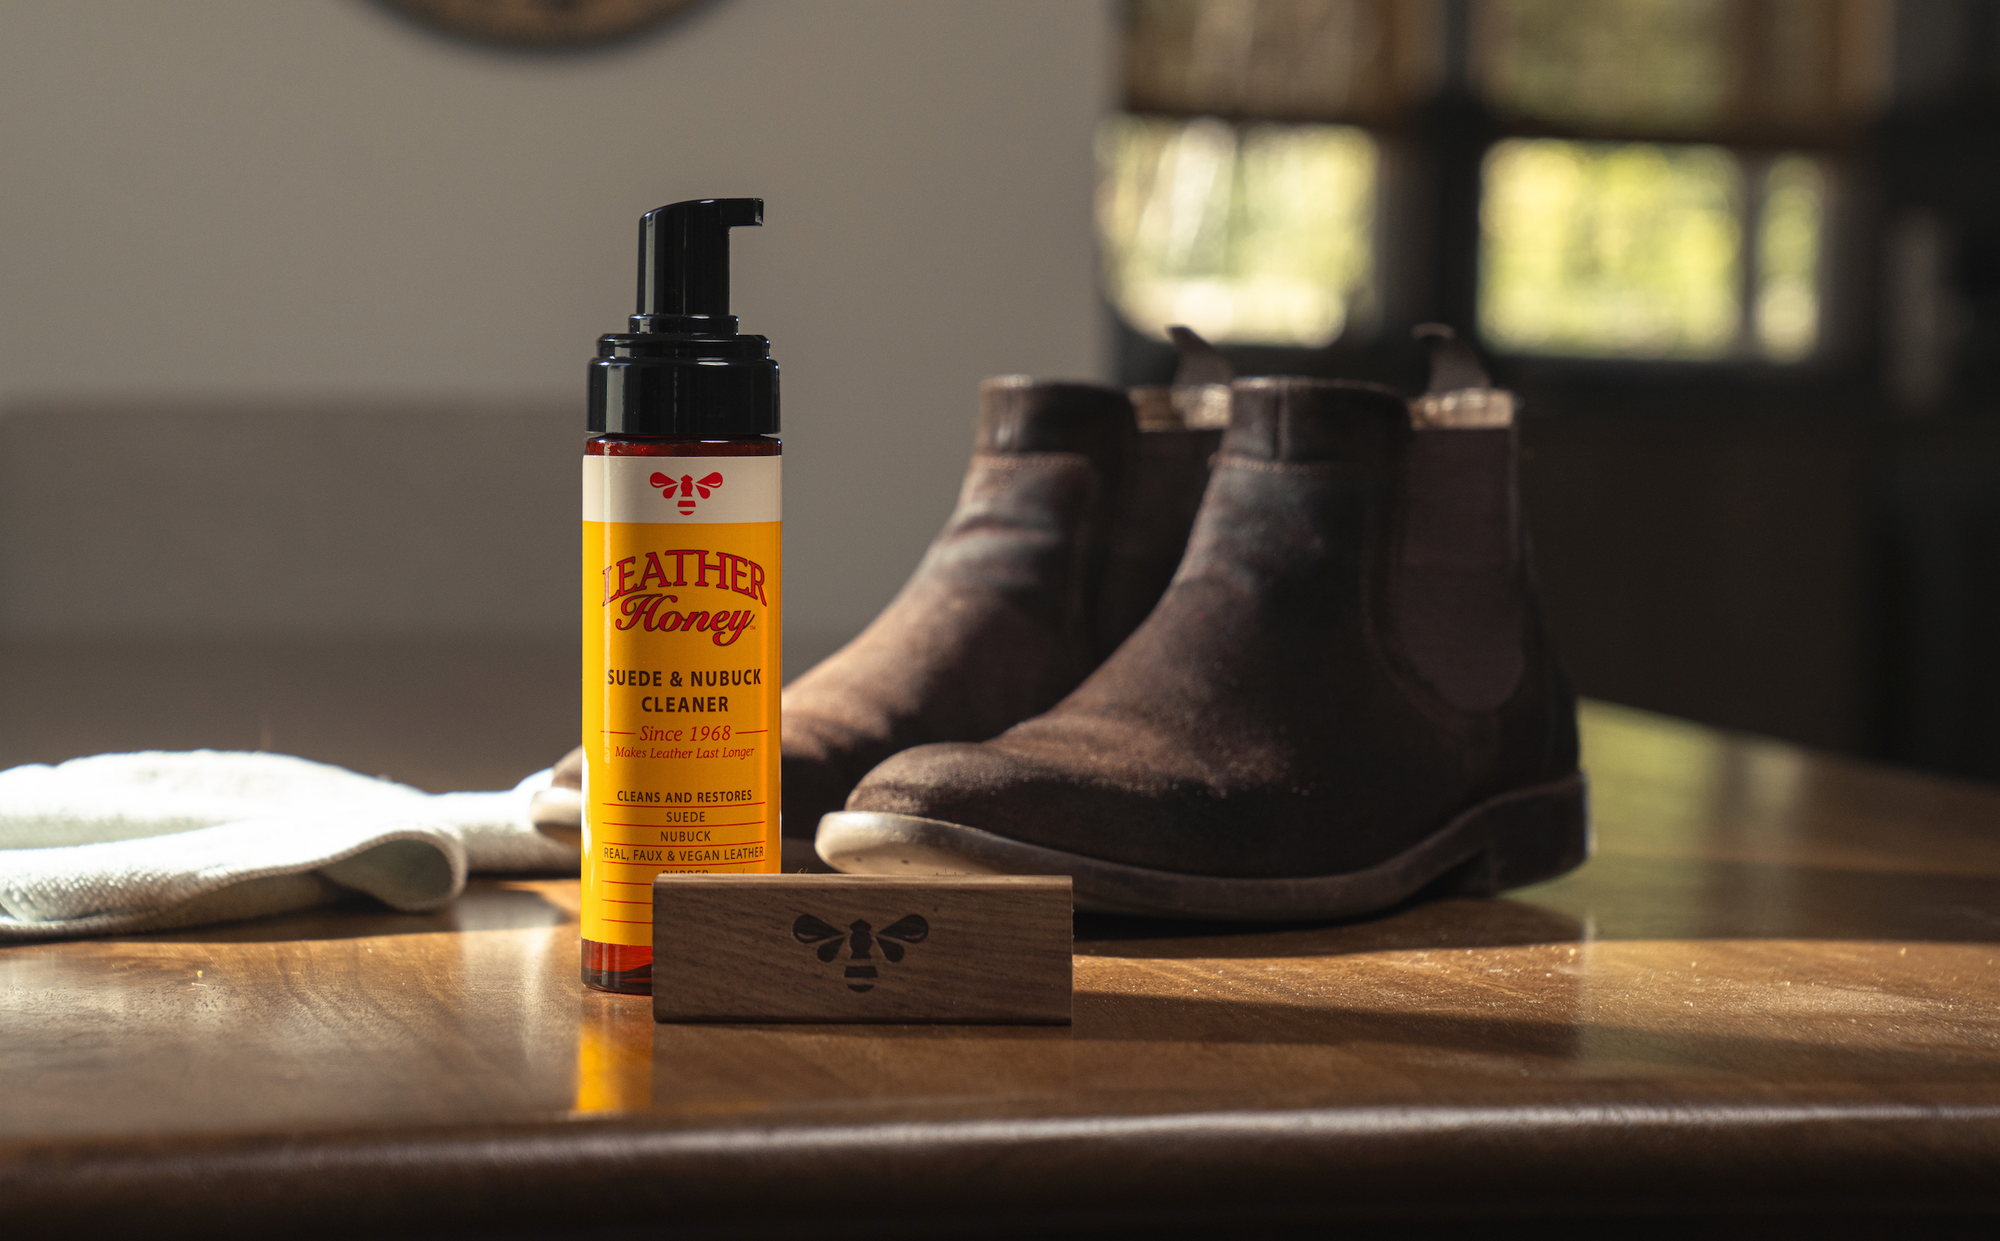
Some products are designed for one specific purpose, like leather, vinyl or plastic. Look for a cleaning product that can do it all, like our very own Leather Honey Leather Cleaner. It can be used on genuine leather, rubber, vinyl, plastic and faux leather (sometimes called leatherette). It’s also safe for perforated leather and seats with heating and cooling elements. If your vehicle is in the sun a lot — and most cars are — you might want to consider using Leather Honey Leather Cleaner with UV Protectant. It will add an extra layer of protection.
To detail your car, moisten a lint-free cloth with Leather Honey Leather Cleaner, then gently wipe down all the surfaces, spending more time on heavily soiled areas. You shouldn’t need to scrub or oversaturate the leather — dirt and grime should just lift away. Textured surfaces, like the dashboard or doors, may need a bit more of a scrub, but generally speaking dirt should rub right off of those, too. Be sure to get into small areas, like inside those air conditioner vents and into cracks — a small brush (even a toothbrush) can help ensure you give a thorough cleaning.
If you have rubber mats, now’s the time to detail those, too — you can give them a good spray with a hose to remove any loose dirt or mud, then wipe them down with the leather cleaner.
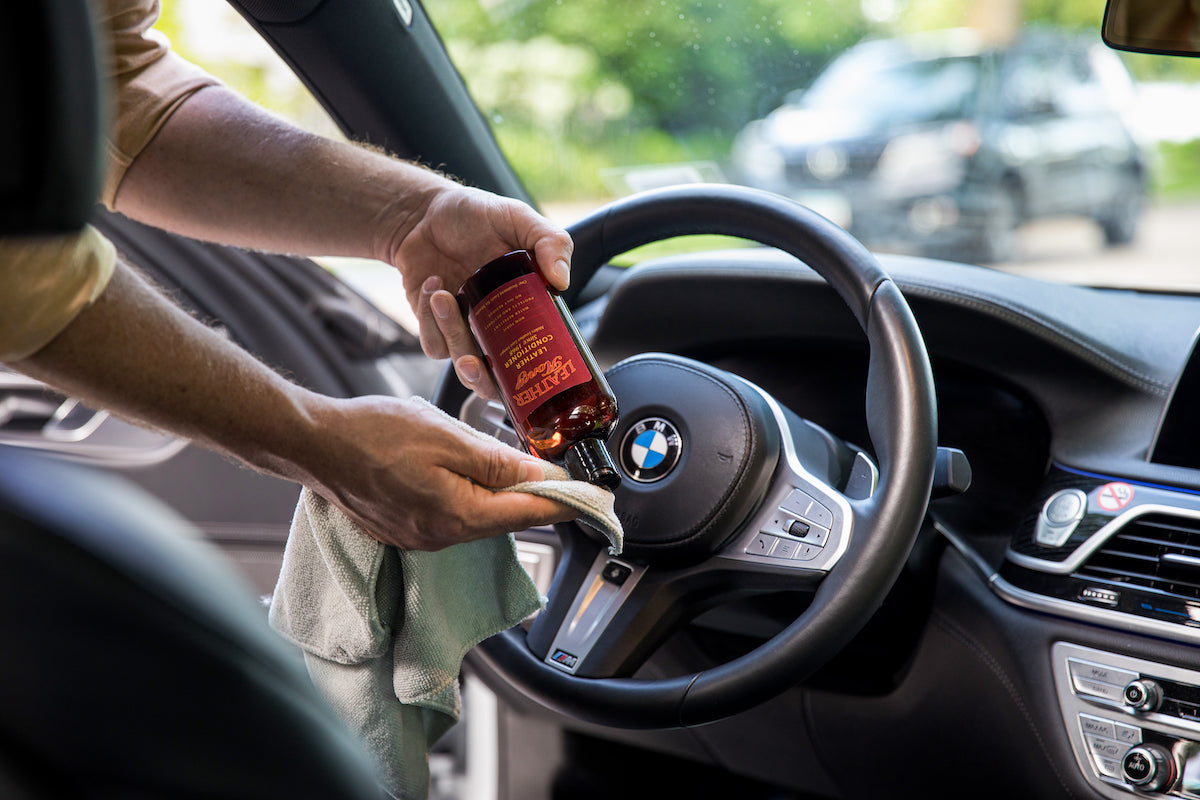
4. Apply leather conditioner to leather seats
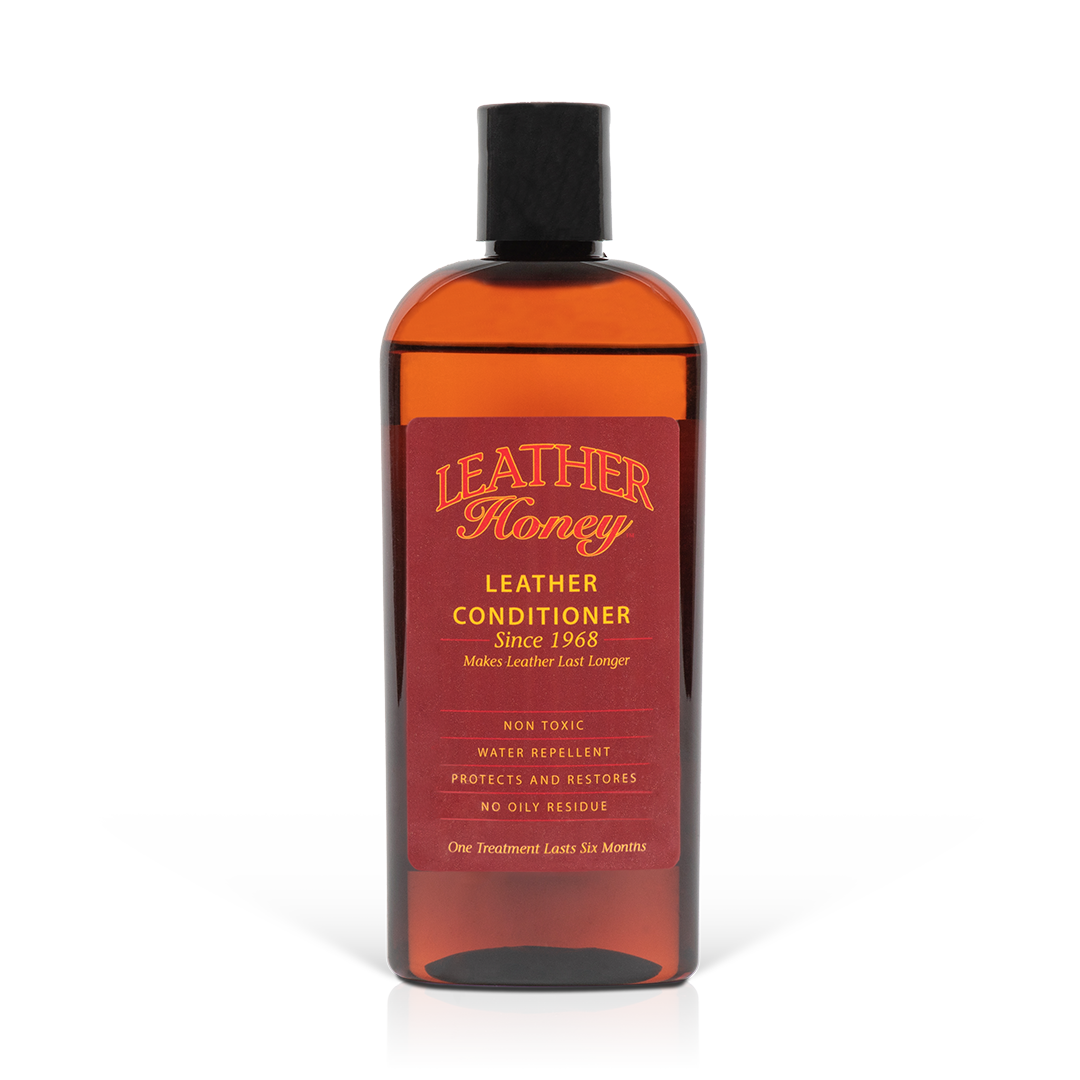
If your car has genuine leather seats, you’ll want to follow your detailing with leather conditioner every six months. Be sure the leather is dry from cleaning first. Leather Honey Leather Conditioner is safe for all genuine leather. The one caveat is coated leather. If you’re not sure if your leather is coated, do a quick spot test in a discreet area to make sure the conditioner can absorb and dry. If it doesn’t, you don’t need to condition — no leather conditioner can penetrate coated leather.
If your spot test fully absorbs, you can move to conditioning the entire leather seats, avoiding plastic or vinyl areas. The conditioner is safe for perforated leather and heated/cooled seats as well. Allow the conditioner to dry for at least two hours — overnight is even better — then buff off any excess with a lint-free cloth.

More to Know About DIY Car Detailing
Some common questions people have about how DIY car detailing.
What do I need to DIY detail my car?
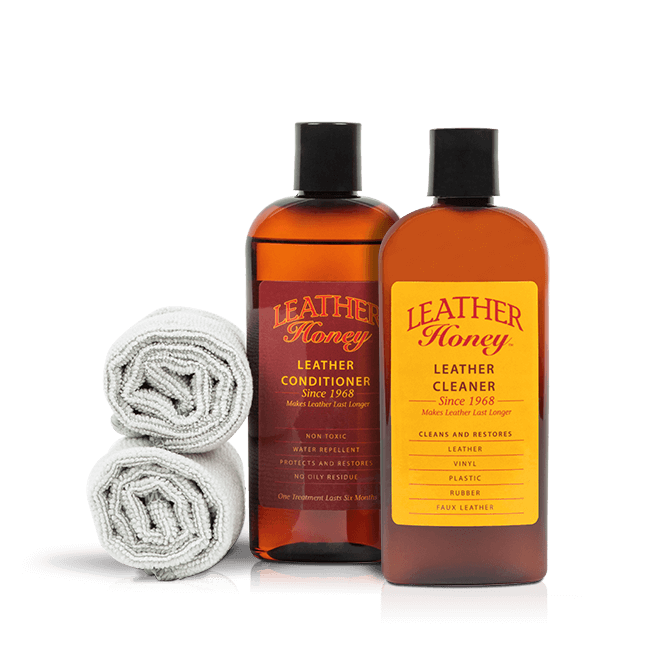
You will need trash bags, a vacuum, a small brush or toothbrush, multi-purpose cleaner, leather conditioner and lint-free cloths. Try our Leather Honey Cleaner and Conditioner Kit that comes with a cleaner, conditioner and cloths.
What household products can I use to detail my car?
We don't recommend using household products to detail your car. Instead, opt for premade formulas that are designed specifically for this task.
How long does it take to detail a car?
Depending on the car, it should take you about an hour or 1.5 hours to detail your car.
You May Also Like:
Guide to Disinfecting Leather Car Interior